AVT 667-Tempera Paint

To my recollection, I had never used tempera paint prior to our in-class experimentation.  Now that I have, here is how I would describe working with it: Take a mustard bottle and let it sit in your fridge, untouched, for at least a week.  Take it out and, without shaking it first, squeeze it into a small paper cup.  Now take that residue and try to paint with it. 

Jokes aside, I found tempera to be watery, thin, and runny.  I had an exceedingly difficult time controlling it, or building up any kind of color, especially on dark paper.  I understand the appeal to teach this in an elementary school art class, as low cost, readily available and hazard free materials are mighty compelling.  With the caveat that my experience is limited, I just don’t think tempera paint is worth the effort.  Anything you have to fight with this much I fear would be a deterrent to a student’s further interest in painting.  They’d simply think “Painting is hard, guess it’s not for me!” and walk away.  

As this blog is for a school assignment, I don’t know if “hard pass” is an option for any of these materials.  If it is, I’d say leave tempera paint out of the equation entirely in favor of the more malleable, user friendly and opaque acrylic paint. 

This is the only image I kept from class, as everything else looked like I’d tried to paint on black paper with watered down Kool-Aid:

AVT 667-Colored Pencils

Colored pencils fall into the same category of enthusiasm I reserved for graphite: They are versatile tools, cheap, easy to be grasped by anyone, and capable of the same wide range of expressive qualities as standard pencils with the added benefit of incorporating color.  Color and pencil are like peanut butter and chocolate, two great tastes that taste great together. 

That said, I do believe that the addition of color to the medium can be paralyzing for some artists (it was for me, for awhile).  Color is a skillset in and of itself, subject to its own rules and working methods.  Switching from a graphite pencil to a colored pencil is not a 1 to 1 translation, as now the artist must think about color harmony, temperature, saturation and a whole host of other concerns beyond just value.  For this reason, I’d recommend at least an introductory color theory lesson before bringing them into the curriculum.  Explaining primary, secondary, and complimentary colors will go a long way towards making students feel more comfortable before working with these things.  

I’d also spend some time covering the various means of combining colors with colored pencils.  This too is something I struggled with when I first started playing around with them.  Multiple colors can be used to crosshatch, stipple, layer, overlay, and create smooth gradations, but these methods aren’t always immediately obvious to novices.  If you want to get really crazy, solvents can be added into the mix causing the binding agent of the pencil to breakdown and the pigment to act almost like paint.  A color can be laid down and manipulated on the surface using solvent and a paintbrush.  Solvents can be toxic, so this method may best be reserved for older students.   

The following resources may be helpful in teaching students colored pencil blending techniques: 

“The Only Methods You’ll Ever Need for Blending Colored Pencil” Carrie L. Lewis

https://www.carrie-lewis.com/3-methods-blending-colored-pencil/ 

“8 Ways on How to Blend Colored Pencils Like a Pro” Jae Johns

https://jaejohns.com/how-to-blend-colored-pencils/

In class I tried my hand at Crayola “Color Sticks” which seem to be the halfway point between a traditional colored pencil and a pastel.  Their large, blocky, hard edged shape made them a little unwieldy for the type of line drawing I was trying to do, but I could immediately see how intuitive they’d be for a more painterly approach, and I liked the way they reacted to the textured paper.

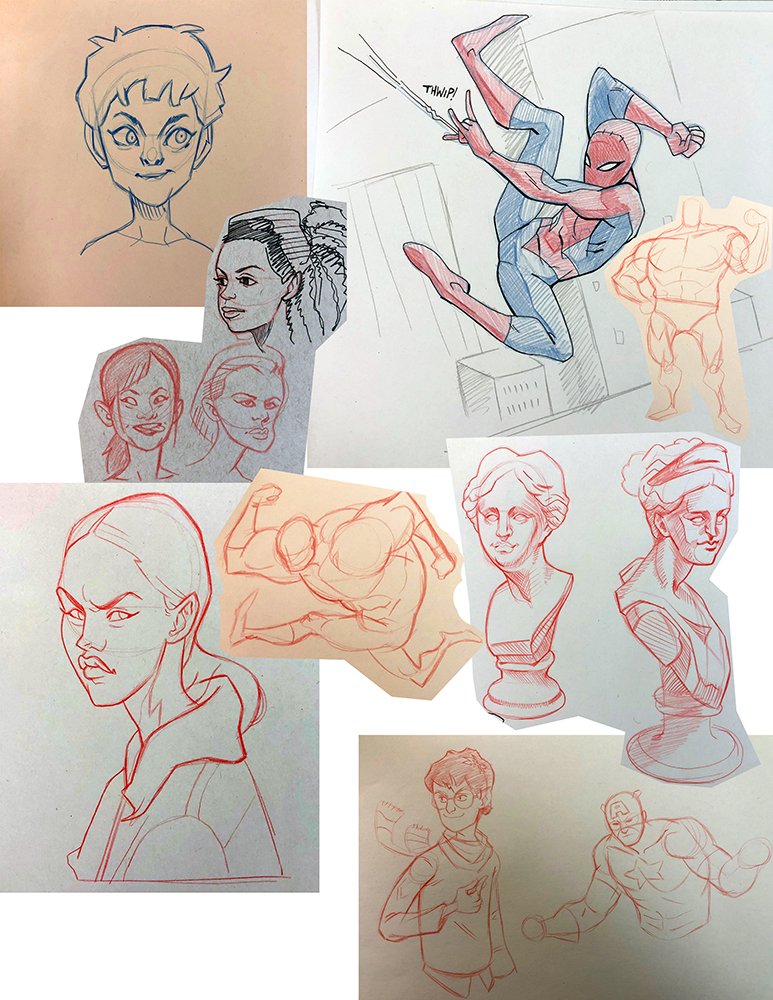
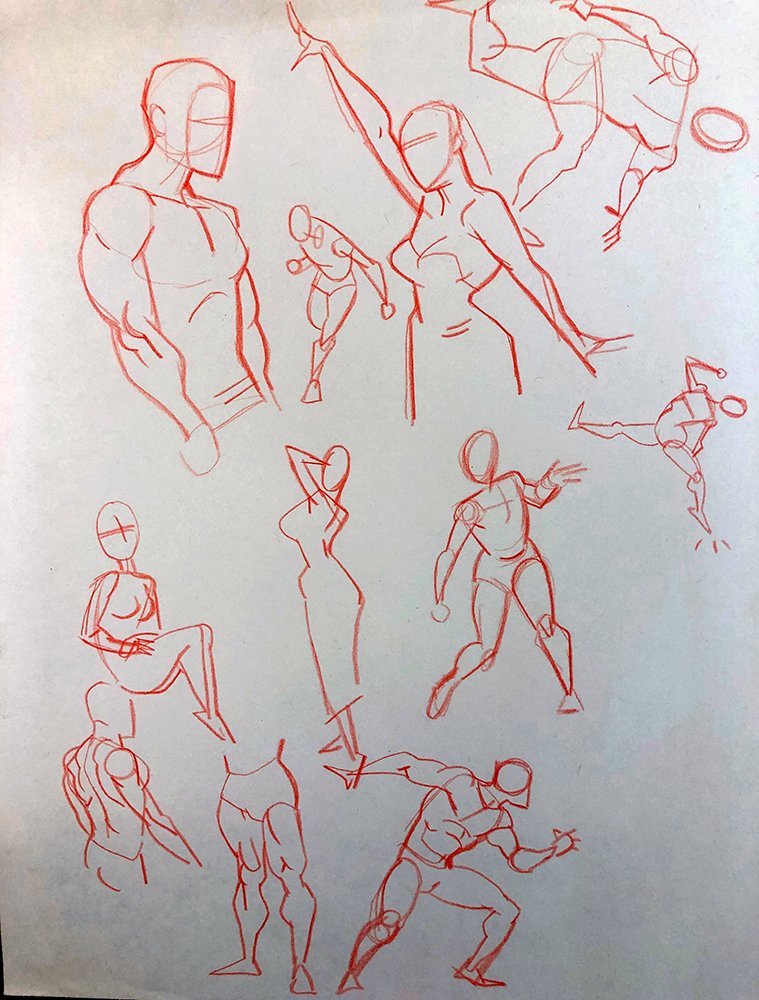
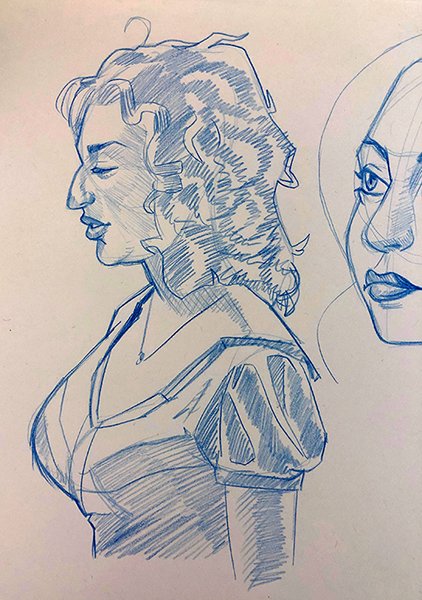
In my sketchbooks, I almost always work in red or blue colored pencil (or blue ballpoint pen). I like the “glide” of a pencil, but with graphite, I find I tend to go too dark too early, and I leave smudges and fingerprints all over the place. Colored pencils have the same range, feel and texture of graphite, but without some of the drawbacks. These are all from my sketchbook, but I always have trouble taking good photos so apologies in advance for the image quality.

AVT 667-Graphite

I’m a big fan of the common #2 pencil.  As an artist, one of my primary interests is in mark making, and this little wooden stick can do it all.  With very little effort you can move from the delicate, razon-thin line of a sharp pencil point, to broad swaths of tone by drawing with the side of the lead.  You can shade, crosshatch, stipple, create a wide range of values and textures, contour line…even that little pink nub of an eraser on the end is useful, not just for removing mistakes, but as a means of mark making in its own right.  Best of all, pencils are so ubiquitous as to be practically free.  I’d be willing to bet money you could walk away from this computer screen and, within an hour, come back with at least one pencil in hand found abandoned in the wild.  Anyone can access a pencil; everyone can operate it intuitively.

 There are, of course, a wide variety of more sophisticated options for those who so desire.  Graphite pencils come in a range of values from 9H (super light) to 9B (super dark).  They make them in an infinite combination of sizes and shapes, some as thick as your thumb, some as thin as a toothpick.  You can find woodless pencils comprised of solid graphite, mechanical pencils that never require a sharpener, or lead holders with tiny mechanical claws.  It’s my opinion that in an elementary classroom setting, these advanced options are more novelty than necessity.  Everything a child needs to learn about working with graphite can be accomplished with the little yellow #2 pencil they already had in their backpack (or spent all class chewing on). 

For a drawing surface there is pretty much just one requirement: something kind of flat.  Graphite will readily apply to paper, wood, plastic, cardboard, rubber, your clothes and your face.  Paper is ideal.  Personally, I put greater emphasis on experimenting with paper and surfaces than with individual types of pencils.  The difference in mark making effects between a smooth and a toothy, textured paper is much more apparent than the difference between a hard and soft lead.  I think a student testing various paper types will be struck by inspiration much more quickly than they would swapping between a wooden or mechanical pencil. 

As far as project ideas go, with graphite pencils the sky is the limit.  You can use them to teach lessons on line, texture, value or mark making.  This medium can be applied to fully rendered, finished work, or quick, messy, daily sketchbook activities.  They can be used by students of all ages, although, with one important safety note: When working in graphite you’ll probably want to spray finished pieces with a fixative to avoid smudging.  Fixatives are typically highly toxic, so for this reason, should be sprayed outdoors and by an adult. 

Resources:

Comic Art Fans- comicartfans.com

A gallery of over 1 million comic book and illustration artworks, many of which are in pencil. 

“Fun With a Pencil” by Andrew Loomis(PDF)- https://www.alexhays.com/loomis/Andrew%20Loomis%20-%20Fun%20WIth%20a%20Pencil.pdf

A classic instructional book revered by professionals but written with children in mind. 

“Classic Drawings by Master Draftsmen”- https://www.pinterest.com/in8designs/classic-drawings-by-master-draftsmen/