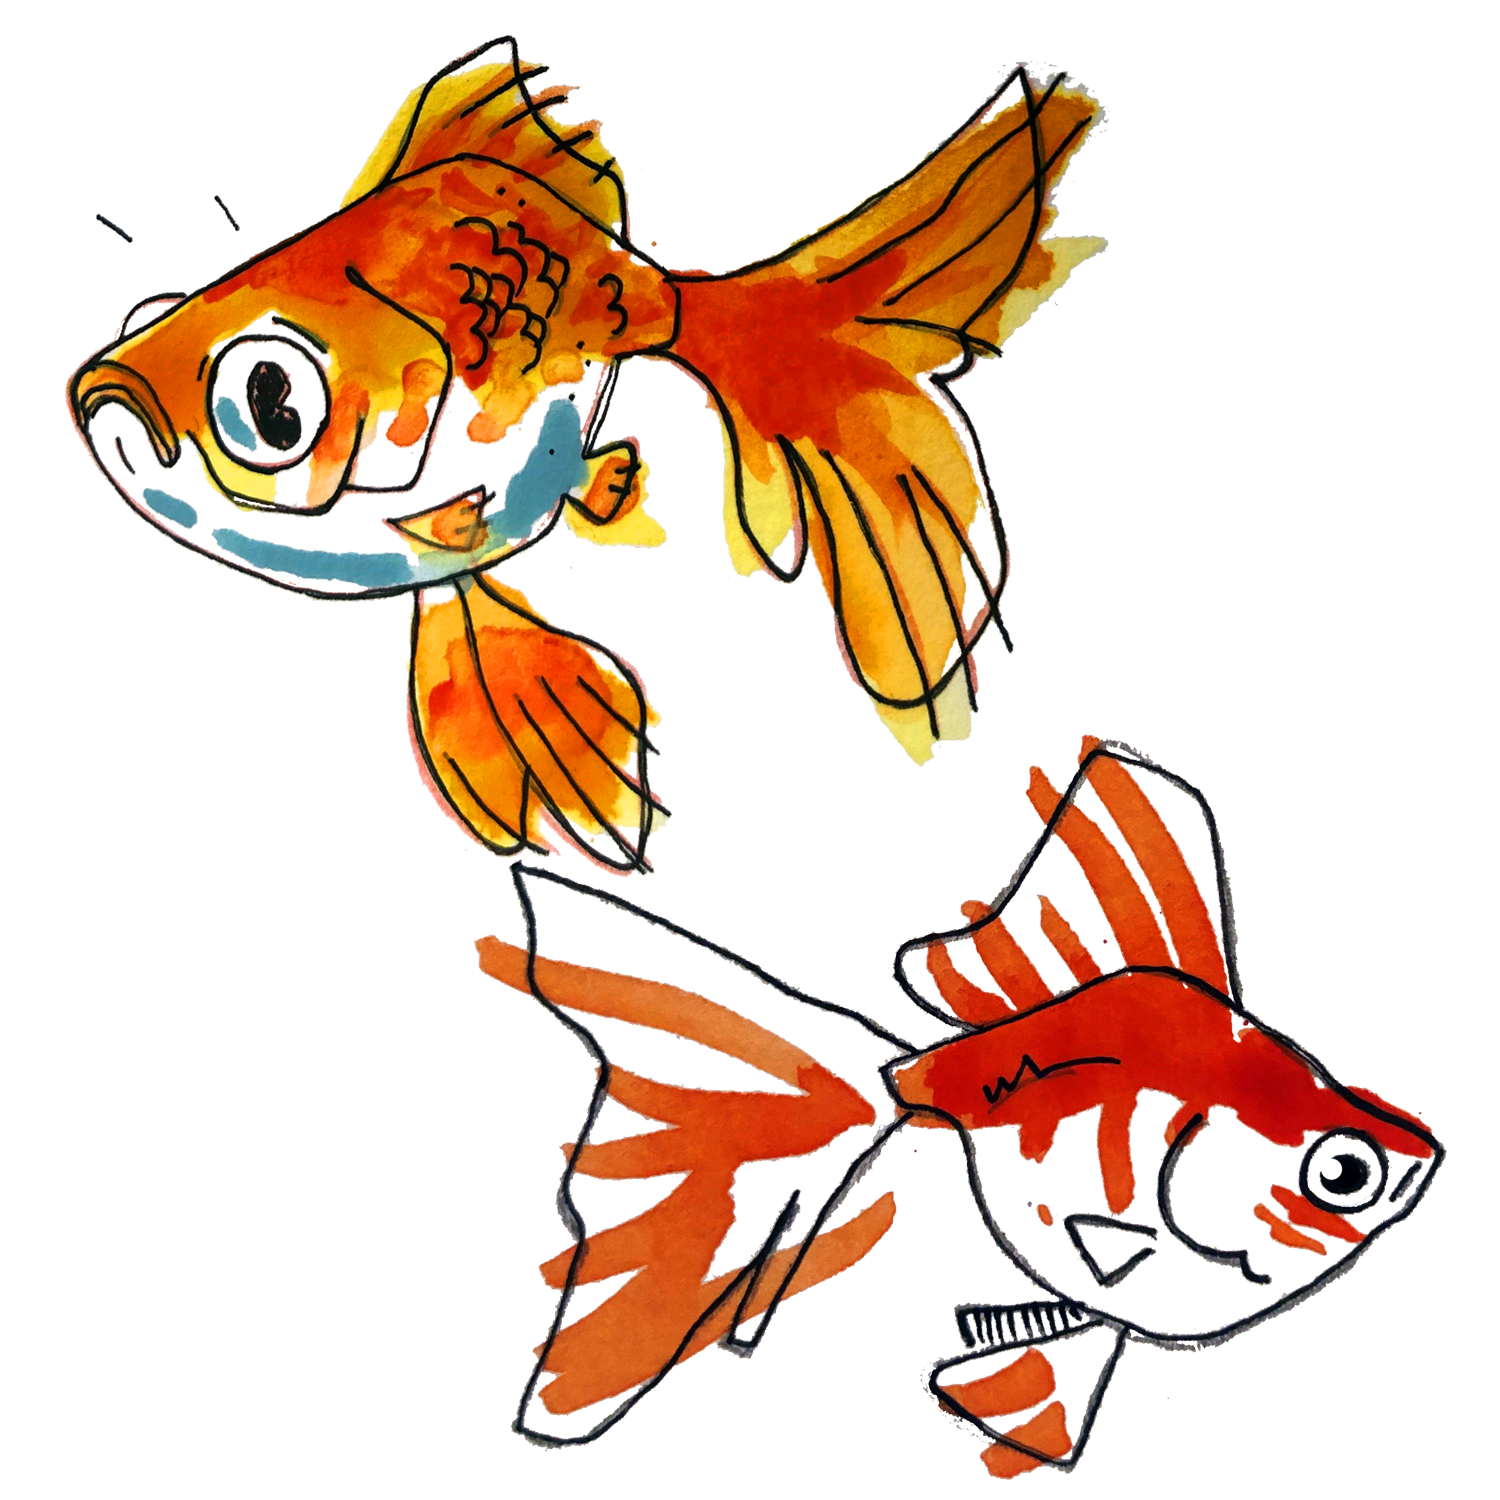
There was a time when I despised watercolor. I certainly admired watercolor works by others, but for an artist as self-conscious and prone to insecurity as I can be, the lack of control it affords I found to be infuriating. I have enough trouble accepting the mistakes I make myself, I don’t need watercolor doing its own thing all over my canvas in an act of willful defiance. As I’ve mellowed out (some) over time, I’ve come to realize that the spontaneity and unpredictable nature of watercolor is a feature, not a bug. You can build your skillset, exact meticulous levels of control, and implement all sorts of tricks with the aim of purposefully manipulating the pigment, but in the end, there’s always going to be some reaction you didn’t intend. You’ll always be surprised. This is great if you’re open to it, but some students may bristle and grow frustrated by their perceived lack of agency in the artmaking process.
This blog represents the writing I’ve done for several classes in the MAT program, and as such, watercolor is something I have covered in detail previously. To avoid repeating myself, for this entry I’ll focus on the things I’ve picked up over time, and that are worth considering in a teaching setting.
-Materials matter. Low-cost Crayola brand watercolor paints have their appeal, but I didn’t truly start to appreciate the medium until I invested in higher quality paints and brushes. The really cheap stuff feels like painting with Pixie Sticks diluted in water: Grainy and dull. Artist (or professional) grade watercolors are vivid and much more reactive to water and brushes.
-While I don’t really have a preference between watercolor cakes, pans, or tubes, I think the tube paints are easier to mix on a palette, and I had a weird, psychological hurdle to get over when “contaminating” colors in the pans. Not a big deal at all, but something to keep in mind.
-TAPE YOUR PAPER DOWN, and tape it well. Watercolor paper, when dry, feels so thick and sturdy that affixing it securely to a board or surface doesn’t seem all that important. Over time, as that thing gets wet and starts to warp into shapes you didn’t think it capable of, you’ll regret not taking this step more seriously. I’d always used painter’s tape to prepare my surface, but it was low tack and wouldn’t hold for long. If the tape came loose, I didn’t sweat it. This was a mistake. If the paper buckles, your options for paint strokes become limited. Save yourself the headache and tape it down firmly from the outset. It’s hard to straighten the paper out again once its mutation is underway.
-Pay attention to the incline of the surface you’re working on. I tend to work at a drafting table, which is angled, and causes water to run downward. This is fine if it’s done with intent, but causes problems when not. Work flat at first, and start to tilt the paper around to make the runny, water aspect of watercolor work for you. Lead the pigment towards where you want it to go.
-Have students spend ample time practicing wet on dry and wet on wet techniques. With watercolor being unwieldy, giving them every tool to mitigate that feeling and regain a sense of control is invaluable.
-Start working on abstract projects at first, laying down colors, experimenting with brushstrokes and various effects, as opposed to jumping straight into something representational (like a still life). It’ll help lessen the learning curve (and blow to your ego) if you start with figuring out the things you can easily do with watercolor as opposed to the things you can’t.


